
What Is CGI Visualization? A Complete 2026 Guide
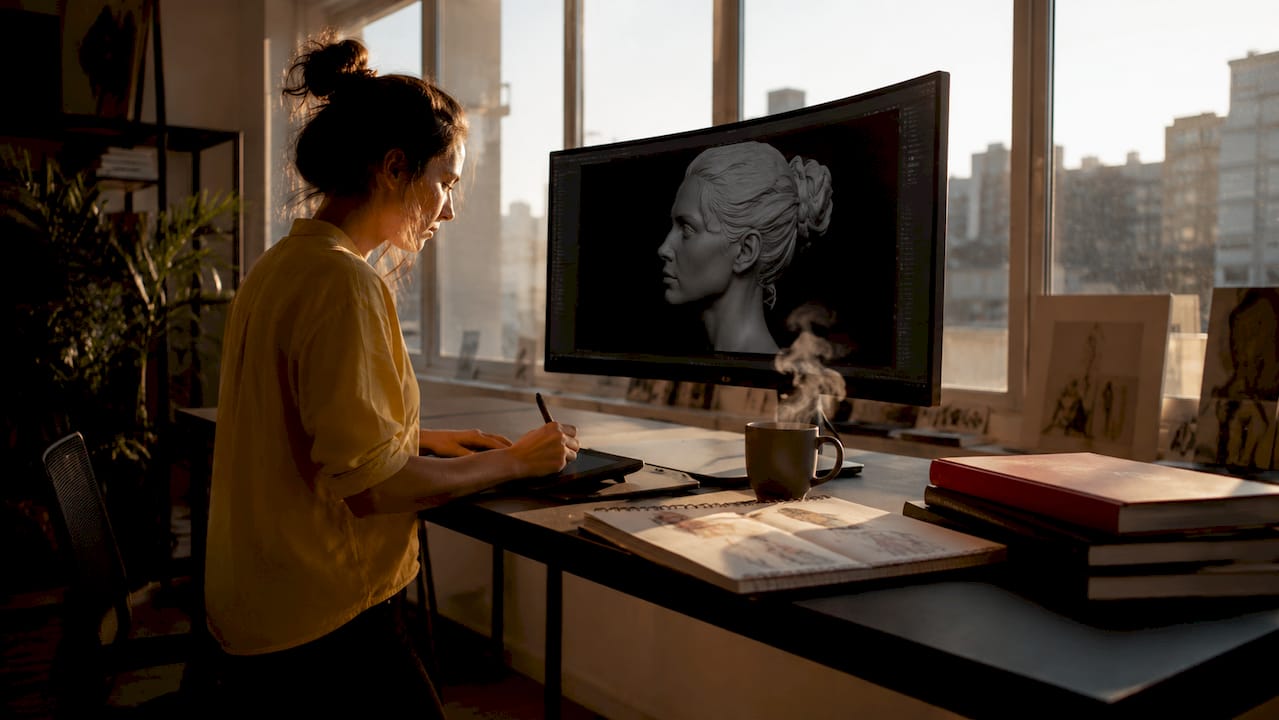
CGI visualization is defined as the process of creating digital images, animations, and interactive visuals using computer-generated imagery to represent real or conceptual subjects with photorealistic or stylized accuracy. The term covers everything from a single still architectural rendering to a fully animated product commercial, all produced without a camera. The industry standard term is “CGI visualization,” though professionals also call it 3D visualization or computer-generated imagery rendering depending on the context. At its core, the process replaces physical photography with digital simulation of light, materials, and physics. Architects, marketers, product designers, and filmmakers all rely on it to communicate ideas before anything physical is built or shot.
What is CGI visualization and how does it work?
CGI visualization is the use of computer software to build a three-dimensional scene and then calculate how light interacts with every surface in that scene to produce a final image. CGI includes two main categories: still imagery such as architectural renderings, and animated imagery used in film, games, and virtual reality. Both categories rely on simulation rather than camera capture. That distinction matters because it means the output is not limited by physical constraints like lighting conditions, product availability, or location access.
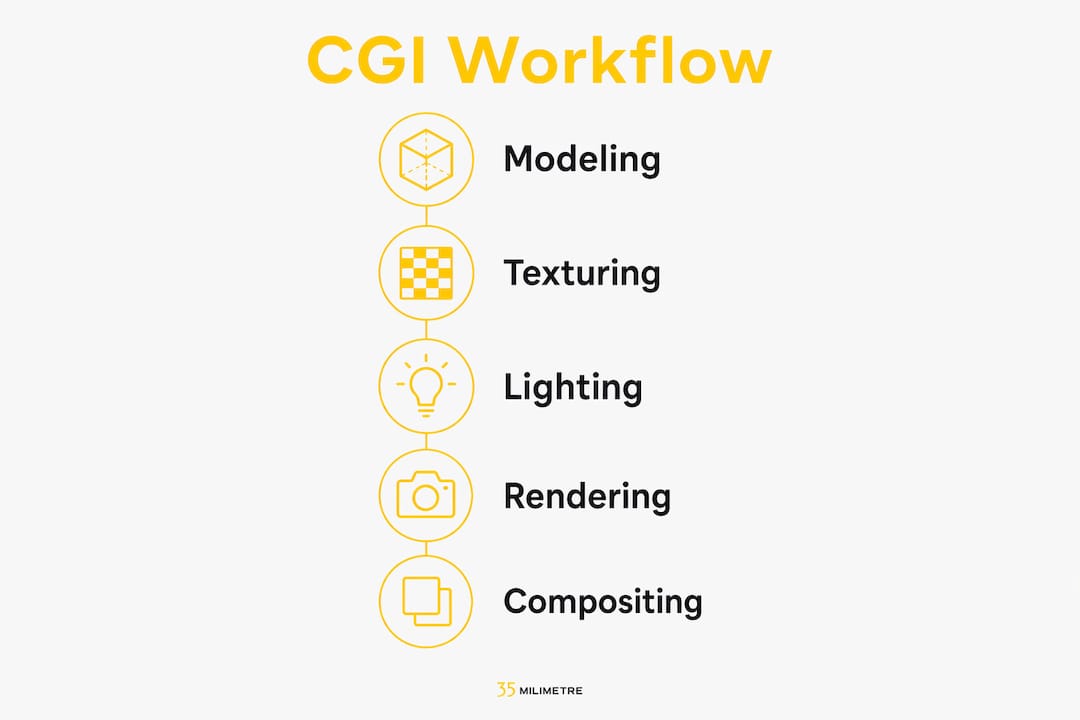
The production workflow follows five core stages: modeling, texturing, lighting, rendering, and compositing. Each stage builds on the previous one, and a weakness at any point carries forward into the final image. The rendering stage is where the render engine calculates light interactions across the entire scene to produce a photorealistic result. This is the most computationally demanding step, and it is where the quality of earlier decisions becomes visible.

Modeling and topology
Modeling is the construction of a 3D object using geometry. Clean mesh topology, meaning the organized arrangement of polygons that make up a model, determines how well the object deforms, renders, and accepts textures. Poor topology creates visible artifacts in the final render. Professionals treat topology as a foundation, not an afterthought.
Texturing and physically based rendering
Texturing maps surface detail onto the 3D model. Physically based rendering, or PBR, is the industry-standard method for defining how a surface reflects, absorbs, and scatters light. Displacement and roughness maps add micro-level imperfections like subtle scratches and surface noise that prevent the “too clean” look common in amateur CGI. Accurate PBR material setup is what separates a believable product render from one that looks synthetic.
Compositing and post-production
Compositing is the final assembly stage, where rendered elements are combined, color graded, and matched to real footage or background plates. Professional compositing including color grading and camera optics matching is what differentiates professional CGI work from amateur output. You can read more about why this stage matters in this guide to compositing in visual projects.
Pro Tip: Optimize your 3D model topology before you start texturing. A clean, efficient mesh reduces render times, prevents shading errors, and makes revisions far easier later in the pipeline.
What are the main applications of CGI visualization?
CGI visualization is applied across architecture, product design, marketing, film, and gaming. Each industry uses it differently, but the underlying purpose is consistent: communicate a visual idea with clarity and impact before committing to physical production.
Architecture and interior design use CGI to produce photorealistic building exteriors, interior walkthroughs, and lighting studies. Architectural CGI visualizes materials, environments, and spatial relationships in lifelike detail, helping clients understand a design long before construction begins. A developer presenting a residential tower to investors does not need a physical model when a photorealistic render communicates the same information more clearly.
Product design and e-commerce rely on 3D product renders to show packaging, hardware, and consumer goods from any angle, in any color, without manufacturing a physical prototype. This is particularly valuable for product launches where speed matters and physical samples are not yet available.
Marketing and advertising use CGI to create brand visuals and campaign imagery that physical constraints cannot limit. A car floating in a void, a perfume bottle surrounded by water droplets in slow motion, a smartphone disassembling itself to reveal internal components: none of these are possible with traditional photography. CGI makes them straightforward. For real-world examples of this in practice, the CGI in branding examples from 35milimetre show how brands use these techniques to create standout visuals.
Film, VFX, and gaming represent the most technically demanding applications. Here, CGI must hold up under motion, close scrutiny, and integration with live-action footage. AI-assisted video production for brands is also expanding the use of CGI into content formats that were previously too expensive for smaller budgets.
| Industry | Primary CGI use case | Output type |
|---|---|---|
| Architecture | Building and interior visualization | Still renders, walkthroughs |
| Product design | Prototype and packaging visuals | Still renders, 360° views |
| Marketing | Brand and campaign imagery | Still renders, animations |
| Film and VFX | Scene creation and effects | Animated sequences |
| Gaming | Environment and character assets | Real-time interactive visuals |
What are the benefits and limitations of CGI visualization?
CGI visualization is more than aesthetic enhancement. It is a communication and validation tool that reduces costly production errors by letting teams review and approve visuals before physical work begins. A product team that catches a design flaw in a 3D render saves the cost of a physical prototype revision. An architect who presents a photorealistic interior to a client before construction avoids expensive change orders.
The core benefits are:
- Realistic previews before production. You see the final result before spending money on manufacturing, construction, or a photo shoot.
- Flexible revisions. Changing a material, color, or camera angle in a 3D scene takes minutes. Reshooting a physical product takes days.
- No physical constraints. CGI creates visuals that are impossible to photograph, such as cross-sections, exploded views, or environments that do not exist.
- Consistent quality. A 3D scene renders identically every time, unlike a photo shoot where lighting conditions vary.
The limitations are equally real and worth understanding:
- Technical skill requirement. Producing professional CGI requires expertise in modeling, PBR materials, lighting, and compositing. Each discipline takes years to develop.
- Hardware and software costs. Professional render engines and workstations represent a significant investment.
- Render time. Complex scenes with global illumination and high polygon counts can take hours or days to render at production quality.
The most common misconception is that CGI is simply “pretty pictures.” Experts emphasize that accurate mesh topology, UV unwrapping, and material setup are the technical foundations of professional results. The visual output is only as good as the technical decisions made at every stage of the pipeline.
Pro Tip: Never skip model optimization before rendering. Unoptimized geometry inflates render times and introduces shading artifacts that are difficult to fix in post-production.
How do you get started with CGI visualization?
Blender is the most accessible starting point for learning CGI visualization. It is free, open-source, and covers the full pipeline from modeling to rendering and compositing. Beginners can learn through online tutorials, structured courses, and active community forums that provide feedback on early work. The learning curve is real, but the path is well-documented.
The fundamental skills to build in sequence are:
- 3D modeling. Learn to build clean geometry with correct topology before moving to any other skill.
- UV unwrapping. This maps the 3D surface to a flat 2D space so textures apply correctly.
- Texturing and PBR materials. Understand how roughness, metalness, and displacement maps work together to define surface appearance.
- Lighting. Study how three-point lighting, HDRI environments, and area lights behave in a 3D scene.
- Rendering. Learn your render engine’s settings for sampling, denoising, and output resolution.
- Compositing. Practice combining render passes and adjusting color grading in post-production.
The 3D visualization guide for designers from 35milimetre covers these workflows in detail and is a practical next step for anyone building their skills. For professionals looking at where the field is heading, the role of AI in creative studios in 2026 is reshaping how CGI pipelines operate, with AI tools accelerating texturing, lighting, and even rendering tasks. Experimentation is the fastest way to build intuition. Render the same scene with different lighting setups. Apply different PBR materials to the same object. The gap between knowing the theory and producing professional work closes through practice, not reading alone.
Key Takeaways
CGI visualization is a technical discipline that combines 3D modeling, physically based rendering, and compositing to produce images and animations that replace or enhance physical production across every major creative industry.
| Point | Details |
|---|---|
| Core definition | CGI visualization creates digital images and animations through computer simulation of light, materials, and physics. |
| Five-stage workflow | Every CGI project follows modeling, texturing, lighting, rendering, and compositing in sequence. |
| PBR is the standard | Physically based rendering with roughness and displacement maps is the industry method for achieving photorealism. |
| Validation tool | CGI reduces production errors by letting teams review and approve visuals before physical work begins. |
| Accessible entry point | Blender provides a free, full-pipeline starting point for learning CGI visualization from scratch. |
CGI visualization from where we stand
After two decades of producing CGI and post-production work at 35milimetre, the observation that stands out most is this: the gap between technically correct CGI and genuinely convincing CGI is almost always in the details that most people never consciously notice. A client will say a render “looks fake” without being able to explain why. Nine times out of ten, the problem is a surface that is too clean, a shadow that is too sharp, or a light that has no physical source. The render engine did its job. The art direction did not.
The other thing worth saying plainly: CGI is not replacing photography. It is expanding what visual communication can do. The projects where CGI works best are the ones where photography cannot. A product that does not exist yet. An environment that would cost a fortune to build. A material variation that would require 40 different physical samples. CGI solves those problems efficiently. Where a real object and a real environment exist, photography still wins on authenticity.
AI in creative studios is genuinely changing the speed of certain pipeline stages, particularly texturing and lighting setup. We have integrated these tools at 35milimetre and the efficiency gains are real. But the judgment calls, the art direction, and the understanding of what makes an image feel true: those remain human work. The technology accelerates the craft. It does not replace the craft.
— 35mm
Professional CGI visualization support for your projects
Producing high-quality CGI visualization requires more than software knowledge. It requires a practiced eye for light, material, and composition, plus the post-production skills to make a render look like it belongs in the real world.
35milimetre brings over two decades of hands-on experience in CGI, compositing, retouching, and visual post-production to every project. The studio works with ad agencies, product brands, and photographers who need visuals that hold up at the highest level. Whether you need a single product render or a full campaign’s worth of CGI imagery, the team at 35milimetre’s post-production services delivers work built to perform. Reach out to discuss your project and see what professional CGI visualization looks like in practice.
FAQ
What is CGI visualization in simple terms?
CGI visualization is the creation of digital images or animations using computer software to simulate how a real or imagined subject would look. It replaces or supplements physical photography by building and rendering a 3D scene.
How is CGI visualization different from 3D visualization?
The terms are largely interchangeable in professional practice. CGI visualization refers broadly to computer-generated imagery, while 3D visualization specifically emphasizes the three-dimensional modeling and rendering process used to produce the output.
What software is used for CGI visualization?
Blender is the most widely used free option covering the full pipeline. Professional studios also use specialized render engines and modeling tools depending on the project’s complexity and output requirements.
Why does CGI visualization sometimes look fake?
CGI looks unconvincing when surfaces are too clean, lighting lacks physical grounding, or PBR material settings are inaccurate. Adding micro-imperfections through roughness and displacement maps is the standard fix for an overly synthetic appearance.
What industries use CGI visualization the most?
Architecture, product design, marketing, film, and gaming are the primary industries. Each uses CGI to communicate visual ideas before physical production, with architecture and product marketing representing the highest volume of commercial CGI work.
