
How to Combine 3D with Photography Like a Pro
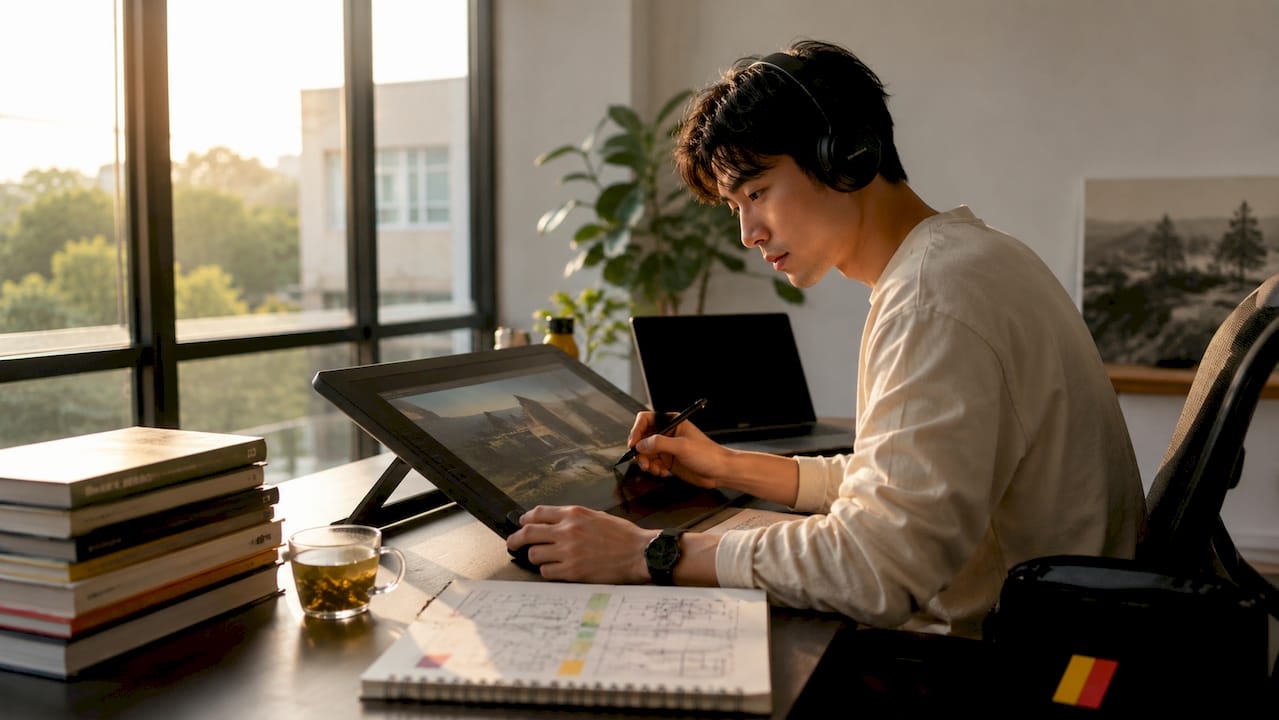
Combining 3D with photography is defined as the process of rendering 3D elements and compositing them into real photographs by precisely matching camera perspective, lighting, shadows, and depth of field. The result is a single image where the 3D object appears to exist in the photographed scene. This technique, known in the industry as CGI compositing, is the backbone of commercial advertising, product visualization, and editorial design. Tools like Blender, Adobe Dimension, and fSpy have made this workflow accessible to photographers and graphic designers who already understand composition and light. What separates a convincing composite from an obvious fake is not the quality of the 3D model. It is the accuracy of the match between the virtual and real worlds.
What tools do you need to combine 3D elements with photos?
The right software stack is the foundation of any successful CGI compositing project. Each tool in the chain handles a specific part of the workflow, and gaps in that chain produce visible errors.
3D modeling and rendering software forms the core of the pipeline. Blender is the most widely used open-source option, covering modeling, shading, lighting, and rendering. Adobe Dimension targets designers who need a faster path to photorealistic product renders without deep 3D expertise. Both support the multi-pass rendering outputs that professional compositing requires.
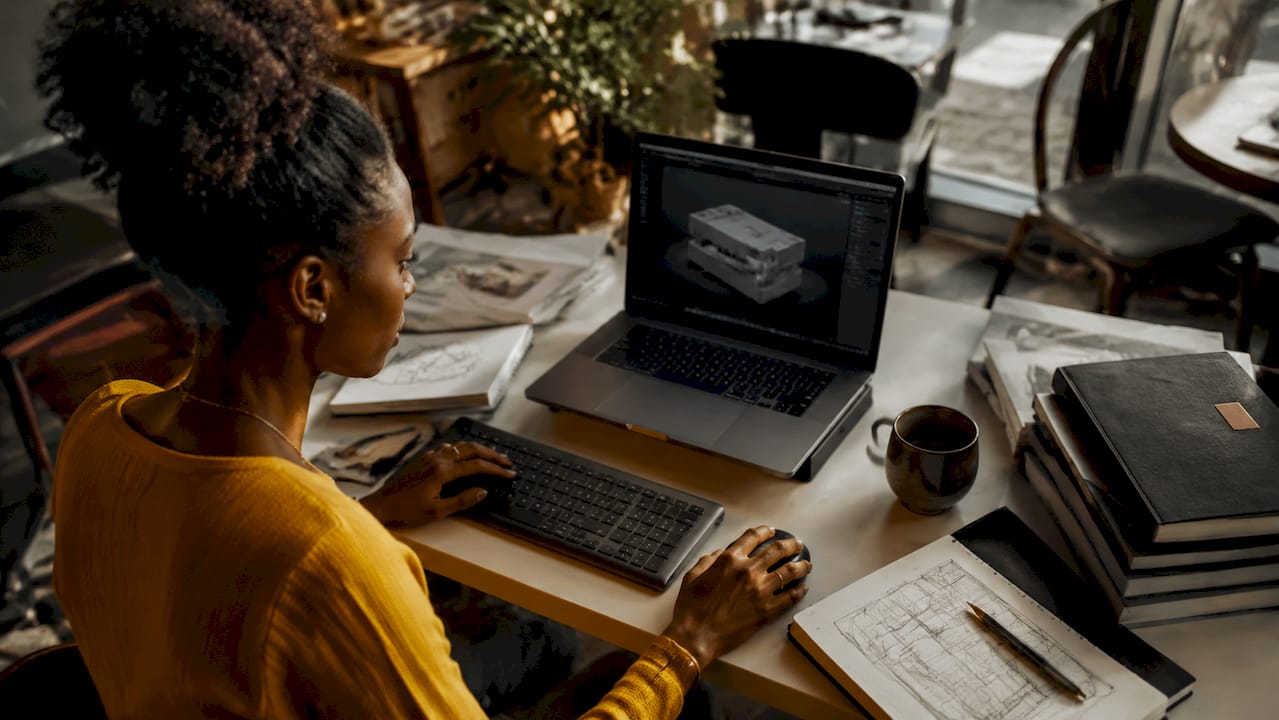
Camera matching tools solve the perspective problem. fSpy is the standard choice. It reads vanishing points from a photograph and exports precise camera data, including focal length and position, directly into Blender. Adobe Dimension’s Match Image workflow performs a similar function automatically, estimating camera parameters from the background photo to create a perspective-correct 3D camera.
Lighting assets are equally non-negotiable. A 360° HDR panorama captures the full lighting environment of a real location. When used as an image-based light in your 3D scene, it wraps the model in the same color temperature, direction, and intensity as the original photo. Without an HDR, your 3D object will always look like it was lit in a different room.
Compositing software handles the final merge. Adobe Photoshop covers straightforward single-layer composites. For multi-pass work, node-based compositors give you independent control over each render element. The combination of these tools, used in sequence, is what professional studios rely on for seamless VFX integration.
How to match camera perspective and scale for realistic results
Camera matching is the single most important step in CGI compositing. Get it wrong, and no amount of lighting or color grading will save the image.
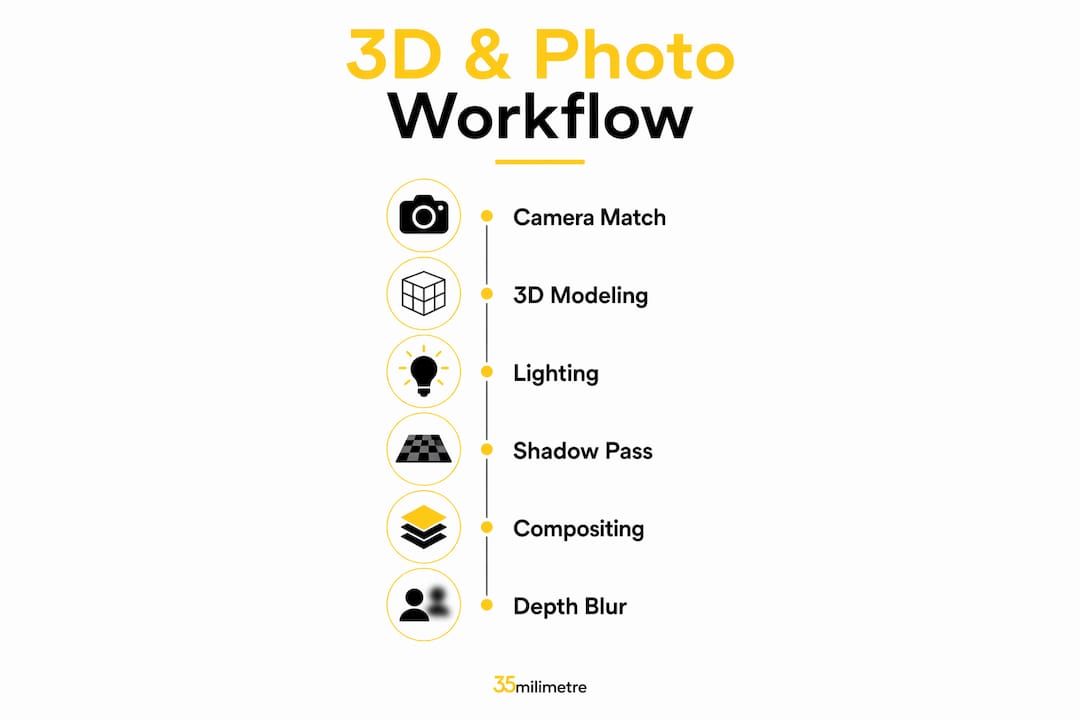
The process starts with analyzing the photograph itself. Every photo taken with a real lens contains perspective cues: parallel lines converge toward vanishing points, and the angle of convergence encodes the camera’s focal length and position. fSpy reads these cues by letting you align perspective lines with architecture, furniture, or any straight edge in the scene.
Follow this sequence to execute camera matching correctly:
- Open the background photo in fSpy. Draw two sets of parallel lines along two axes of the scene, such as the floor and a wall edge.
- Set the reference axis and let fSpy calculate the camera’s field of view and horizon line.
- Export the fSpy project file and import it into Blender using the fSpy Blender add-on. The virtual camera now matches the real one exactly.
- Set the background image as the viewport background in Blender so you can position your 3D model directly against the photo.
- Add a scale reference. Place a simple object, such as a box, at the known height of a door or table in the scene.
Scale is where many compositors fail. Real-world measurements prevent the two most common errors: objects that appear to float above the ground plane, and objects that are wildly oversized or undersized relative to the environment. A standard interior door is approximately 2 meters tall. Using that as your scale anchor locks the entire scene to real-world proportions.
Pro Tip: Choose a reference object that shares the same ground plane as your 3D model. A door works well for interior scenes; a car wheel works well for automotive shots. The closer the reference is to your model’s position, the more accurate your scale will be.
How to match lighting and shadows for seamless compositing
Lighting is the language that tells the viewer whether a 3D object belongs in a scene. Shadow matching is the grammar. Both must be correct for the composite to hold up.
Start by reading the existing shadows in the photograph. Study their direction, length, density, and edge softness. Hard-edged, short shadows indicate a small, bright light source directly overhead, like midday sun. Soft, long shadows indicate a large or diffuse source at a low angle. These observations tell you exactly how to set up your 3D lighting rig.
Shadow matching requires treating three shadow components separately: the contact shadow directly beneath the object, the penumbra (the soft transition at the shadow’s edge), and the ambient shadow that fills in areas where indirect light cannot reach. Handling these as distinct layers gives you precise control during compositing.
HDR panoramas automate much of the directional lighting work. Load the HDR as an environment texture in Blender, and the scene inherits the real location’s light color and direction automatically. For complex scenes, supplement the HDR with area lights that reinforce the key shadow direction you observed in the photo.
Rendering the shadow as a dedicated shadow catcher pass is the professional standard. Shadow catcher passes isolate only the shadow cast on the ground plane, with no background color mixed in. In compositing, place this pass on a layer set to Multiply blending mode and reduce opacity until the shadow density matches the photo’s existing shadows.
Pro Tip: Photograph a white card on the same surface as your intended composite location. The card reveals the exact color cast and intensity of the ambient light, which you can then match in your 3D scene’s fill light settings.
Common mistakes at this stage include forgetting ambient occlusion contact shadows, which are the dark areas where objects touch surfaces. Missing contact shadows make objects look like they are hovering. Also avoid using a single directional light when the photo clearly shows a cloudy, diffuse sky. The mismatch in shadow edge quality is immediately visible.
Depth of field and compositing passes: getting the blend right
Depth of field is the final cue that tells the viewer’s eye the 3D object occupies real space in the scene. A sharp 3D object placed in front of a blurred background reads as a cutout, not a physical presence.
The professional approach uses Z-depth render passes to apply depth-of-field blur during compositing rather than inside the renderer. The Z-depth pass is a grayscale image where pixel brightness encodes distance from the camera. In compositing software, this map drives a lens blur effect, blurring near and far elements according to the same focus distance as the original photograph.
This method is faster and more flexible than rendering depth of field directly in the 3D engine. Renderer-based depth of field requires a full re-render every time you adjust the focus point or aperture. Compositor-based depth of field using Z-depth lets you change focus interactively in seconds. Multi-pass rendering separates the render into diffuse, specular, reflection, ambient occlusion, shadow, and Z-depth layers, each adjustable without touching the others.
| Pass type | What it controls | Compositing benefit |
|---|---|---|
| Diffuse | Base color and surface shading | Adjust color grading independently |
| Specular | Highlight intensity and shape | Tune reflections to match photo lighting |
| Ambient occlusion | Contact and crevice shadows | Strengthen grounding without re-render |
| Shadow catcher | Cast shadows on surfaces | Blend shadows via Multiply mode |
| Z-depth | Focus blur by distance | Match photo depth of field interactively |
Separating compositing passes is the standard workflow in high-end studios. It is the difference between spending two hours on a re-render and spending five minutes on a node adjustment. For photographers and designers new to 3D, this pass-based thinking also maps naturally onto the layer-based logic of Photoshop.
For studios and agencies working on complex 3D visualization projects, this multi-pass approach is non-negotiable. The iteration speed it provides directly affects how many creative options a team can explore within a deadline.
Common mistakes to avoid when blending 3D with photography
Even experienced designers make predictable errors when merging 3D with photographic backgrounds. Knowing them in advance saves hours of troubleshooting.
Scale mismatches are the most frequent problem. A 3D car that is 10% too large reads as a toy model. A product that sits slightly above the ground plane looks pasted in. Both errors trace back to skipping the real-world measurement step during camera matching.
Inconsistent shadow direction is the fastest way to break a viewer’s trust. If the photo’s shadows fall to the left and the 3D object’s shadow falls to the right, the composite fails immediately. Always confirm shadow direction before rendering by placing a simple sphere in the scene and checking its shadow against the photo.
Missing ambient occlusion removes the sense of contact between the 3D object and the surface. Even a subtle darkening where the object meets the ground adds significant believability. Render ambient occlusion as a separate pass and composite it at low opacity in Multiply mode.
Over-blurred depth of field is a subtler error. Applying too much blur to the 3D element makes it look like it is behind the camera’s focus plane, not in front of it. Match the blur amount to the actual focus distance in the photo, not to what looks dramatic.
Pro Tip: Always request a dedicated shadow catcher pass from your 3D artist, even for simple projects. Compositing shadows separately gives you the ability to correct lighting mismatches in post without touching the 3D file.
The most effective troubleshooting method is iterative testing. Render a low-resolution composite early, print it or view it at arm’s length, and identify the most obvious error first. Fix that single issue before moving to the next. This sequence prevents the common trap of over-correcting multiple variables at once and losing track of what actually improved the image.
Key Takeaways
Combining 3D with photography requires accurate camera matching, lighting replication, shadow layering, and compositor-driven depth of field to produce images that hold up to professional scrutiny.
| Point | Details |
|---|---|
| Camera matching comes first | Use fSpy to align the virtual camera with the photo’s vanishing points before placing any 3D model. |
| Scale anchors prevent floating objects | Reference a known real-world measurement, such as a 2-meter door, to lock scene proportions. |
| Shadow passes control realism | Render shadow catcher passes separately and composite them in Multiply mode to match photo shadows. |
| Z-depth enables fast DOF iteration | Apply depth-of-field blur in the compositor using Z-depth passes rather than re-rendering in 3D. |
| Multi-pass rendering saves time | Separating diffuse, specular, AO, and shadow passes lets you adjust each element without a full re-render. |
What two decades of compositing taught us about 3D and photography
The technical steps in this guide are learnable in weeks. What takes years is developing the eye for what is wrong in a composite before you can articulate why.
At 35milimetre, we have worked on commercial composites for automotive and technology brands where the margin for error is essentially zero. A product image that will run on a billboard or a campaign page cannot have a shadow pointing the wrong direction. It cannot have a highlight that does not match the studio lighting in the background plate. These are not stylistic choices. They are factual errors, and the viewer’s eye catches them even when the viewer cannot name them.
The insight that changed how we approach every project is this: study the photograph before you open any 3D software. Spend real time reading the light. Where is the key source? What color is the fill? How hard are the shadow edges? How much ambient occlusion is visible under the objects already in the scene? The answers to those questions are your brief. The 3D work is just the execution.
Photographers who move into CGI compositing have a genuine advantage here. They already think in terms of light direction, color temperature, and lens behavior. That knowledge transfers directly. The 3D tools are learnable. The photographic instinct is harder to teach, and it is exactly what makes the difference between a composite that convinces and one that merely exists.
We also believe that iterative compositing, testing early and often at low resolution, is underrated. Most errors are visible in the first rough pass. Fixing them early costs minutes. Fixing them after a final render costs hours. Build the habit of checking the composite at every stage, and the final output almost takes care of itself.
— 35mm
Professional 3D and photography integration by 35milimetre
When a project demands more than a tutorial can cover, 35milimetre delivers. Our team of post-production artists, graphic designers, and 3D specialists has spent over two decades integrating CGI with photography for major brands in automotive, technology, and consumer goods. We handle everything from camera matching and HDR lighting to multi-pass compositing and final color grading. If you are working on a campaign where the visual has to be right the first time, we are the team to call. Reach out to 35milimetre and tell us what you are building. We will tell you exactly how to make it look real.
FAQ
What is the first step to combine 3D with photography?
Camera matching is the first step. Use a tool like fSpy to align your virtual camera’s focal length and position with the perspective cues in the background photograph before placing any 3D model.
Why do my 3D objects look like they are floating in the photo?
Floating objects result from a scale mismatch or an incorrect ground plane. Reference a known real-world measurement during camera matching, such as a standard door height of approximately 2 meters, to anchor the 3D scene to the correct proportions.
What is a shadow catcher pass and why does it matter?
A shadow catcher pass is a render layer that isolates only the shadows cast by a 3D object onto a surface. Compositing this pass in Multiply blending mode lets you match shadow density and color to the existing photo without affecting the rest of the render.
Is renderer-based depth of field better than compositor-based depth of field?
Compositor-based depth of field using Z-depth passes is faster and more flexible for iteration. Renderer-based depth of field requires a full re-render for every focus adjustment, while Z-depth lets you change focus interactively in compositing software.
What software do professionals use for 3D and photo compositing?
Professionals commonly use Blender for 3D modeling and rendering, fSpy for camera matching, and node-based compositing software for multi-pass blending. Adobe Dimension offers an accessible alternative for designers who need faster camera matching through its Match Image workflow.
