


November 11, 2026
Bottles and cans are some of the hardest products to photograph, and the same few problems show up on almost every set. Condensation dries out under the lights, glass turns into a flat gray tube, and labels warp or catch a hot reflection.
Beverage photo retouching is mostly about knowing which of these problems a retoucher can rebuild in post, and which ones need a reshoot. This is the split we use when we review a set of beverage photos.
What goes wrong with condensation?
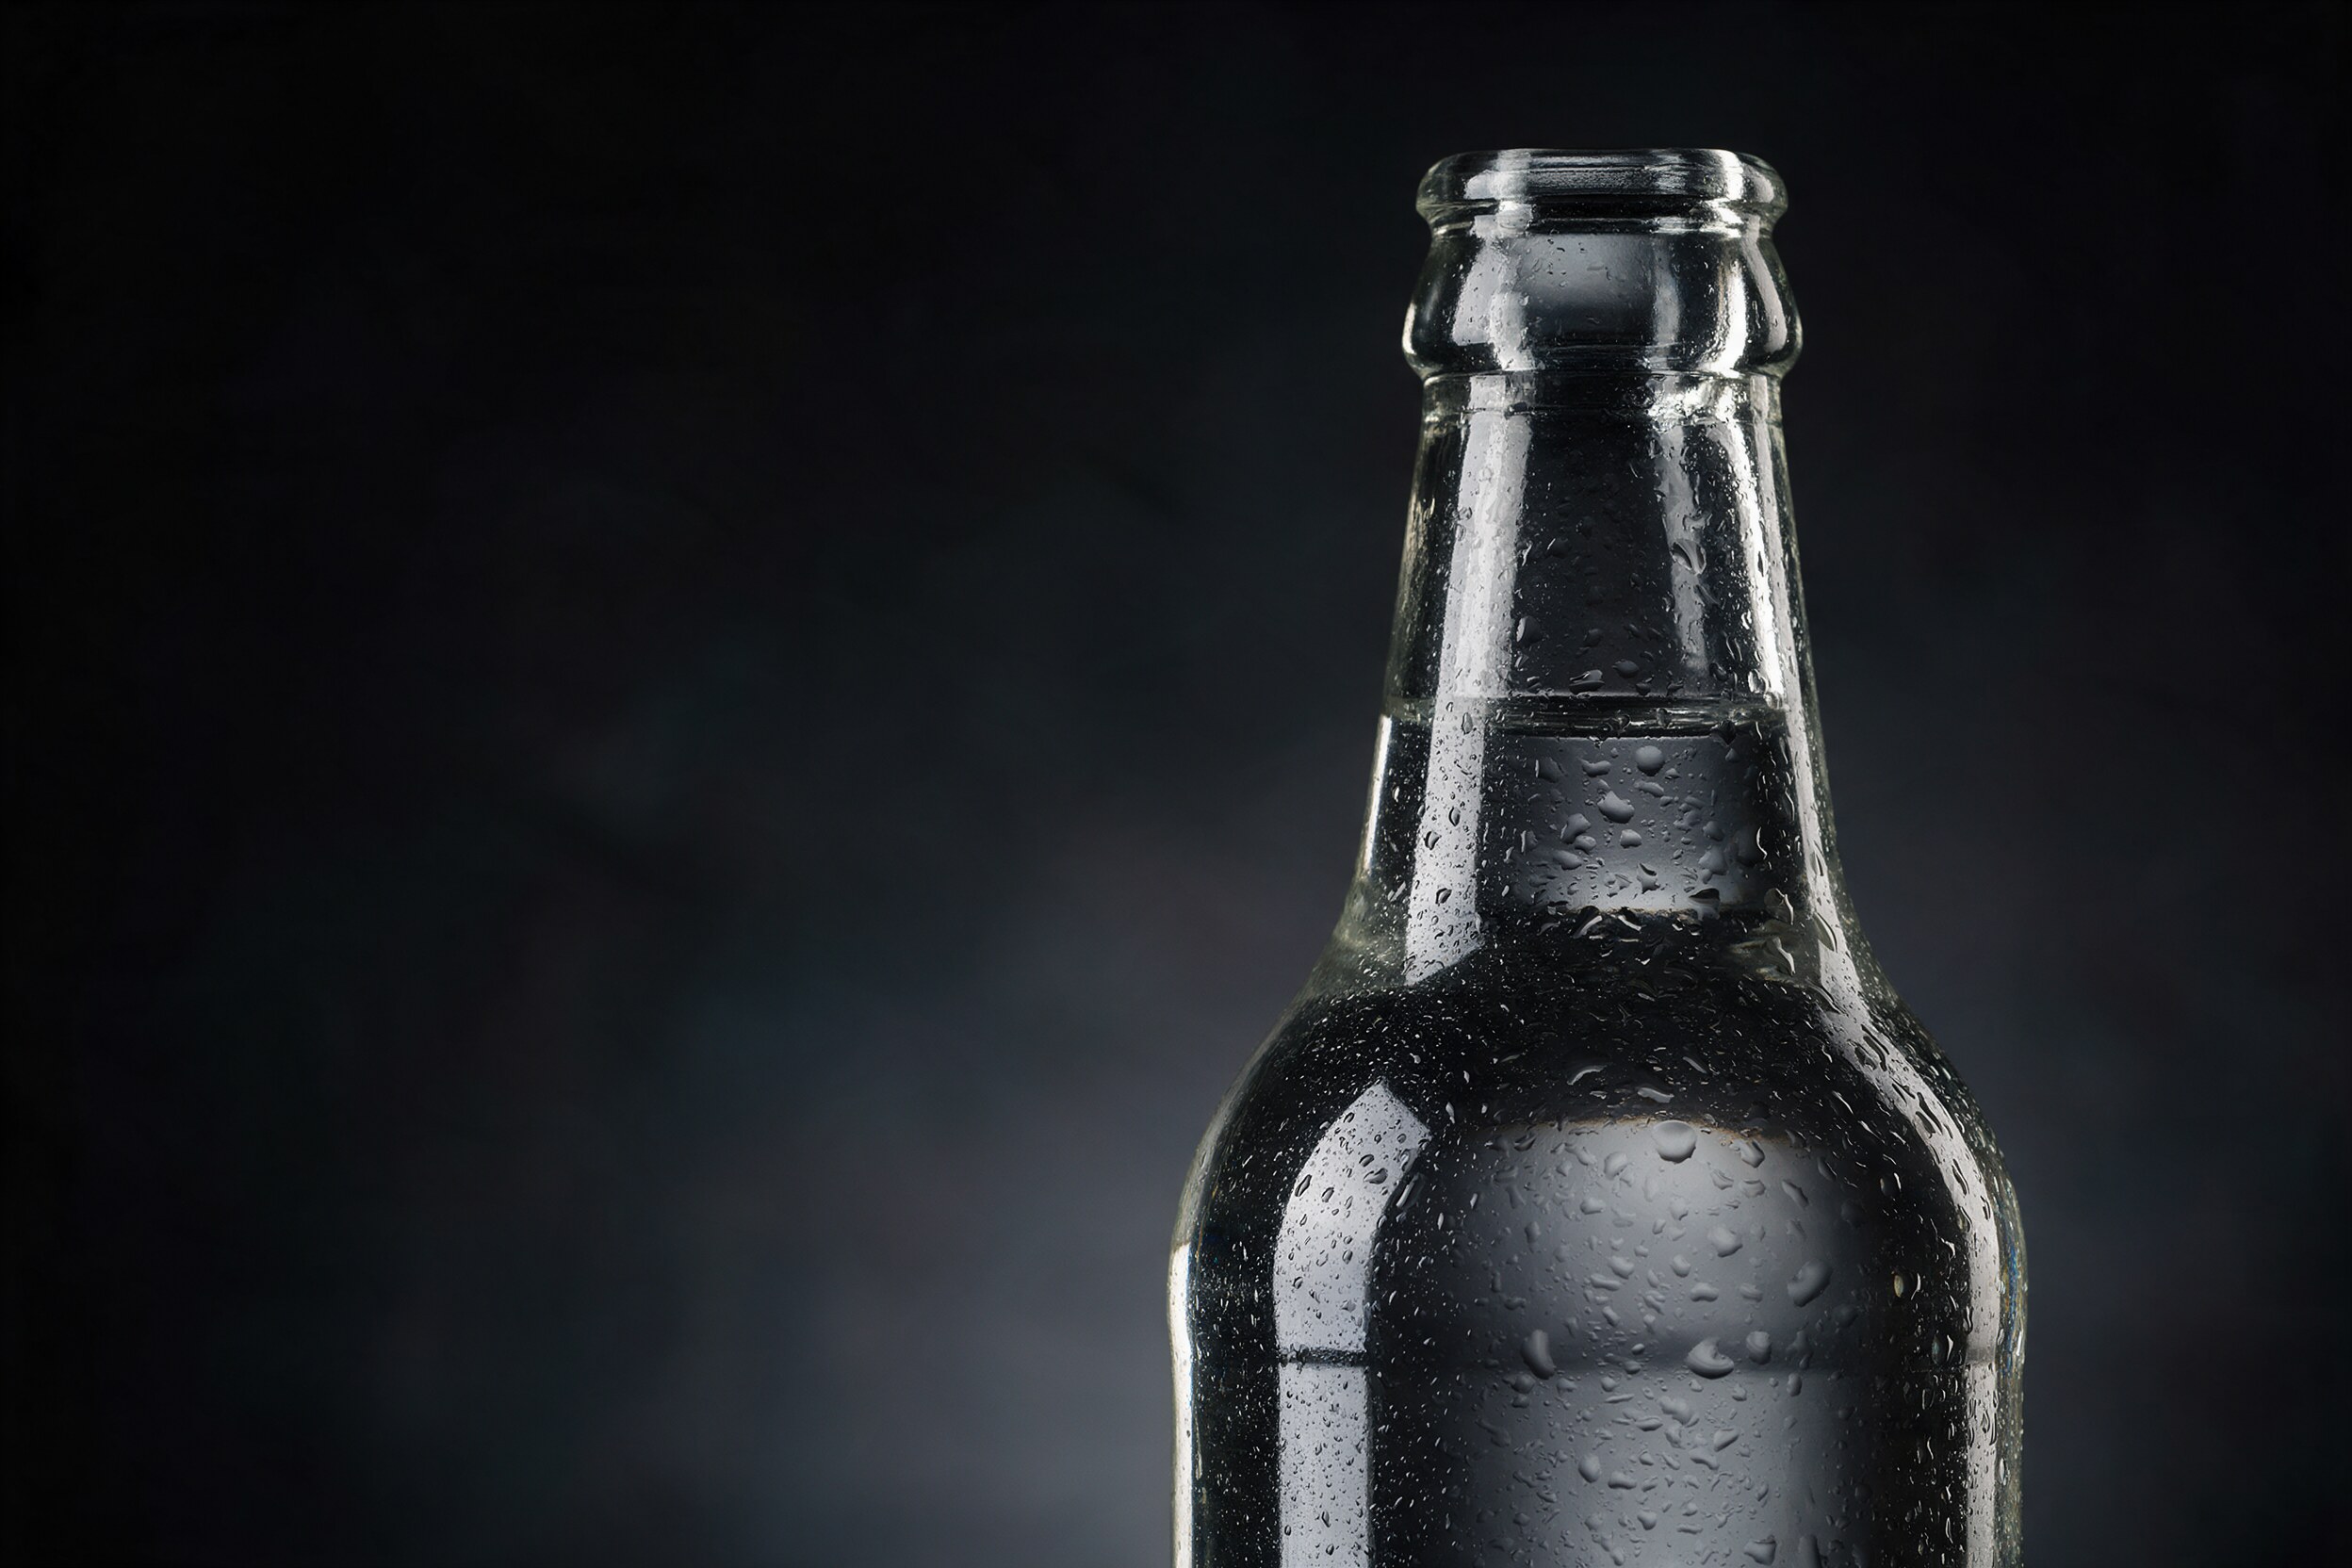
Real condensation is hard to control. Cold glass sweats unevenly, and under hot lights the droplets run, merge and vanish within minutes. That is why stylists often spray a mix of water and glycerin onto the glass to hold round, stable beads. It works, but it is hard to place well. Beads land on the label, bunch up near the cap or cross a highlight where they should not.
A retoucher can fix a lot here:
- Remove droplets that sit on the label, over the logo or across the seam.
- Even out the pattern so the beads feel natural and not sprayed.
- Add or repaint droplets where a bottle looks too dry.
- Rebuild the thin drip trails that tell the eye the product is cold.
What we cannot fix is a bottle that was shot with no moisture and no cold cues at all. Painting a whole bottle of condensation takes time and often looks fake, because real droplets bend light and show the background through them. If the hero shot needs heavy condensation, it is cheaper to reshoot with a fresh spray than to paint it.
Why does glass look dead, and how do you bring it back?
Glass has almost no color of its own. What the eye reads as glass is the bright edge lines, the dark edges and the shapes of the highlights. When the lighting is flat, or a highlight is blown out to pure white, the bottle loses its form and looks like a gray tube.
Good retouching of glass is about restraint. We rebuild the edge highlights so they run clean from shoulder to base, clean up dust and fingerprints, and soften any hot spot that has lost detail. The key rule is to keep some reflections. A bottle with every reflection removed looks flat, and a reflection that does not match the light direction looks fake.
A blown highlight is where reshoots start to make sense. If the pixels are pure white, there is nothing to recover and everything must be painted. That is possible for a small spot. For a long vertical strip down the bottle, a strip light and a new frame are the better answer.
Can a warped or glaring label be saved?
Labels fail in two ways. The first is geometry: the label looks bent, tilted or stretched because of the lens, the angle or the curve of the bottle. The second is light: a foil or metallic label catches a hot reflection, and the text disappears.
Both can be repaired, but the method matters. For a clean result, we do not paint over a damaged label. We place the real artwork file onto the bottle in compositing, with the right perspective, curvature and lighting, and blend it with the original shadows. This keeps type sharp and colors true to the brand file.
For metallic labels and foils, a common approach is to shoot the glass and the label separately, with lighting suited to each, and combine them in post. If that was not done on set, a retoucher can still rebuild the label, but foil texture and gloss are the hardest parts to fake. We would rather say so up front than promise a perfect foil.
If you want more detail on how we handle labels, foils and shrink-wraps in 3D, read How to Get Foils, Labels, and Shrink-Wraps Right in CGI Beverage Packaging.
When is it better to reshoot, and when to retouch?
We use a simple rule. If the problem is in the surface, such as droplets, dust, small hot spots or label geometry, retouch. If the problem is in the structure of the light, such as a fully blown strip, a missing edge on the glass or a product that is simply out of focus, reshoot.
It also helps to think about the number of images. One hero shot can justify careful, slow retouching. Fifty SKUs with the same issue are better solved by fixing the lighting once and shooting again. When the volume is high, the CGI route can be cheaper than either, and we compare the two in The Role of CGI in Modern Beverage Advertising.
The practical takeaway
Before you send beverage photos to a retoucher, check the set against this list:
- Is the label sharp, flat to the lens and free of hot reflections?
- Do the glass edges have visible highlights, with no fully white strips?
- Is there some moisture on the product, placed away from the label?
- Do you have the real label artwork file to hand over?
- Did you shoot a clean plate or a second frame with different light?
If most of those answers are yes, retouching will be fast and the result will look natural. If several are no, a short reshoot will save you money. To see how we work on beverage and packaging imagery, visit 35milimetre.com.